
Objective
This SOP explains how to download a Blue Cross Blue Shield of Michigan commission statement, identify the key fields in the raw file, and load the statement into ComTrack for easier review. The goal is to help a team member quickly understand commission data and verify totals without manual calculations.
Key Steps
1. Access the BCBS of Michigan portal and open commission statements 0:13
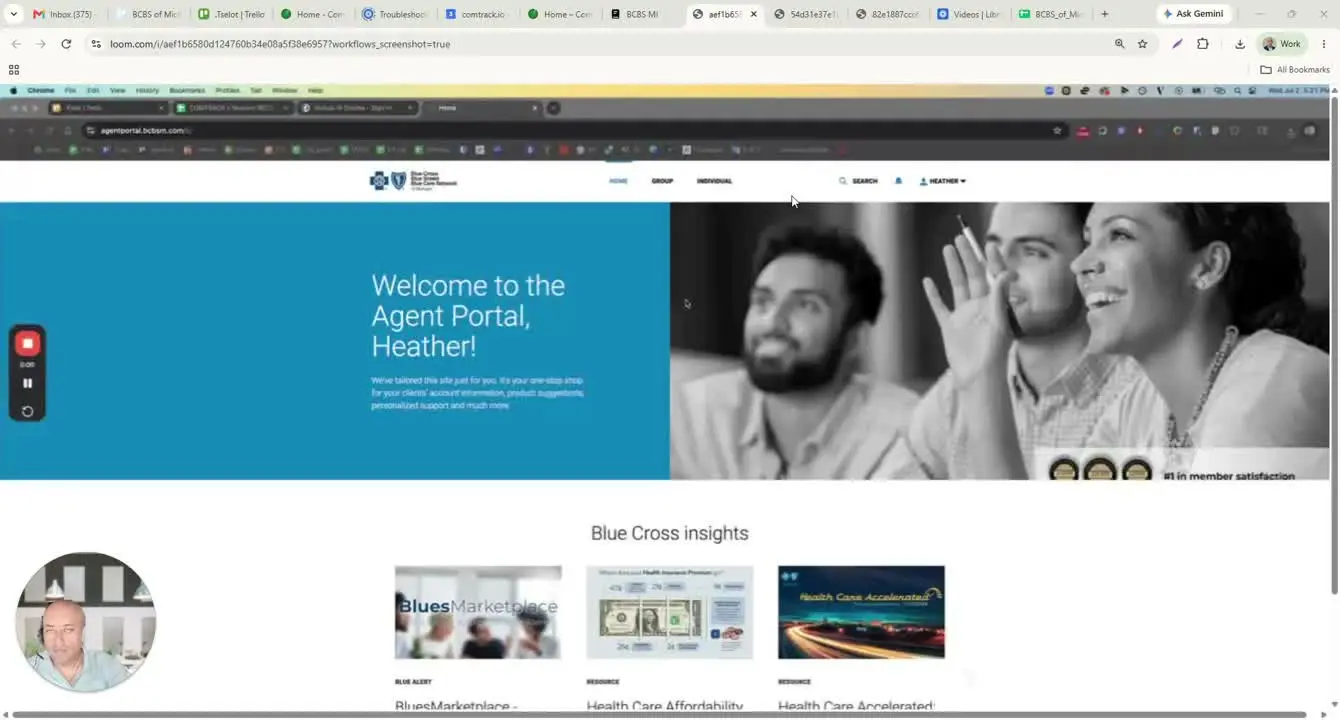
- Log in to the Blue Cross Blue Shield of Michigan portal.
- From the dashboard, locate the Commission Statements area.
- Review the available download options before selecting a file.
2. Select the correct statement month and file type 0:30
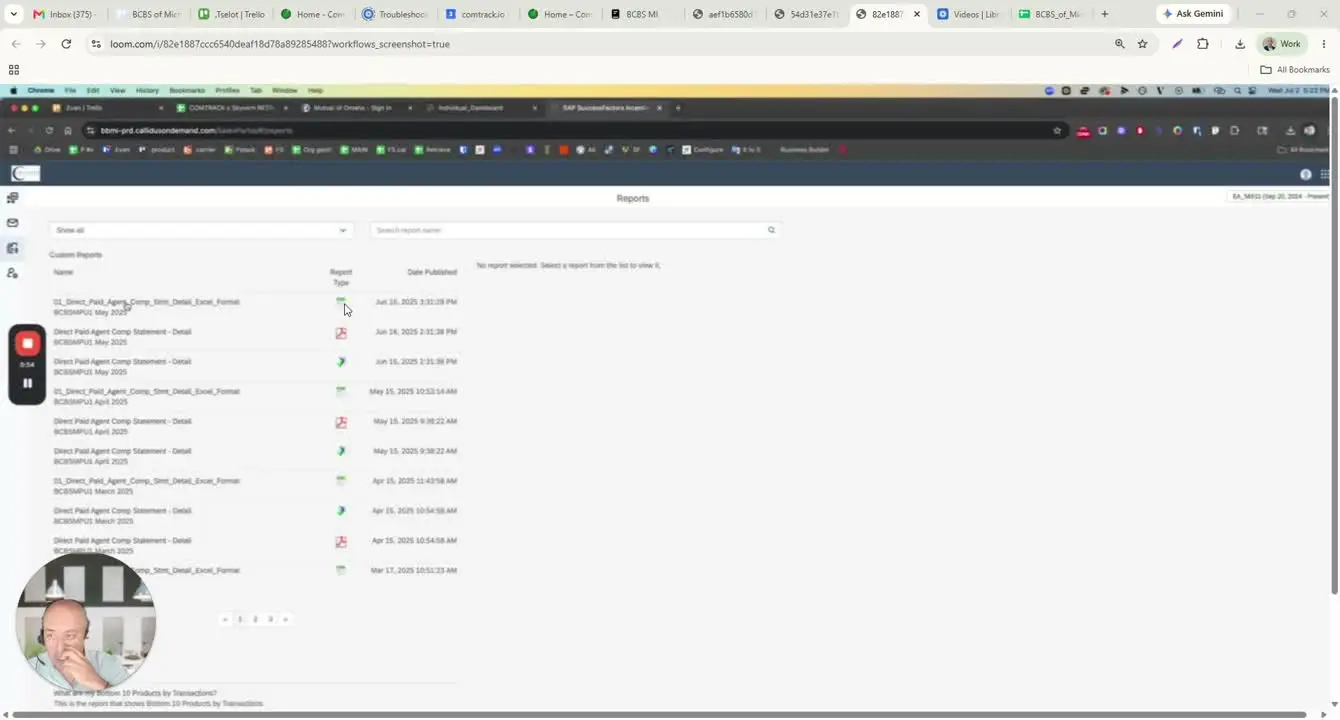
- Choose the month for the commission statement you need.
- Select the statement type you want to download.
- For this process, choose the Excel file option when available.
3. Open the downloaded statement and identify the main fields 0:50
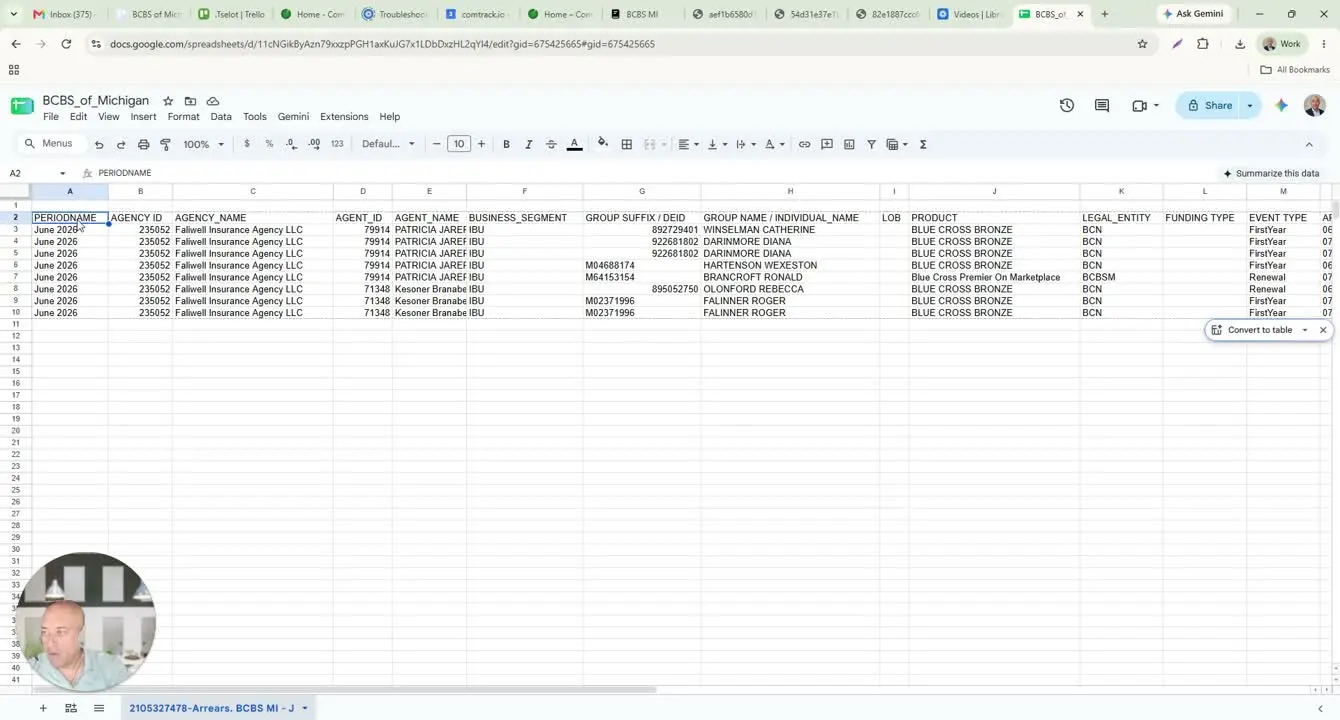
- Open the downloaded commission statement file.
- Confirm the report contains a single tab, if applicable.
- Locate the Period Name field, which shows the coverage month or commission period covered by the statement.
4. Review agency, agent, and business segment details 1:02
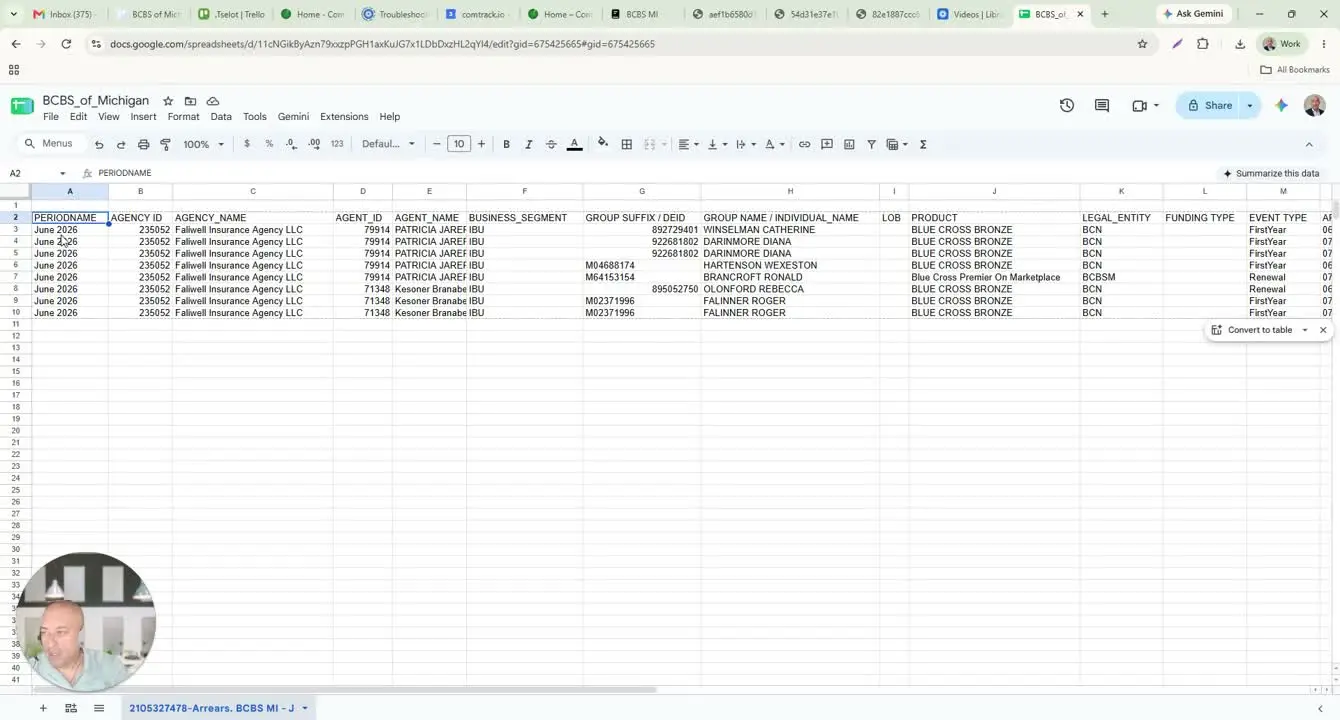
- Check the Agency ID and Agency Name to identify the agency receiving the commission.
- Check the Agent ID and Agent Name to identify the person associated with the commission policy.
- Review the Business Segment field:
- IBU indicates individual business units.
- Other values may indicate group business.
5. Verify group or policy identifiers and product information 1:41
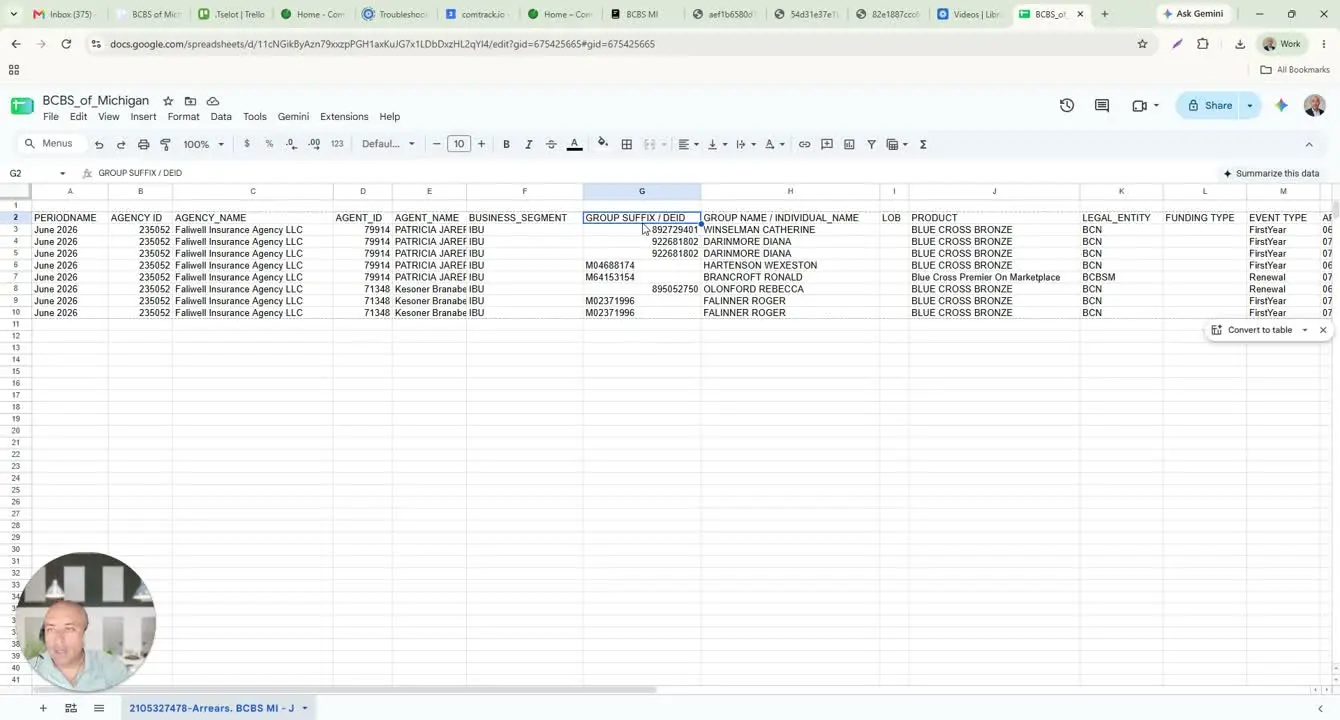
- Review the Group Suffix / DEID as the segment identifier.
- Check the Group Name or individual name field:
- For group policies, this may show the employer name or number.
- For individual policies, it may show the policyholder name.
- Review the Product field to identify the actual plan name.
6. Review plan classification and policy attributes 2:07
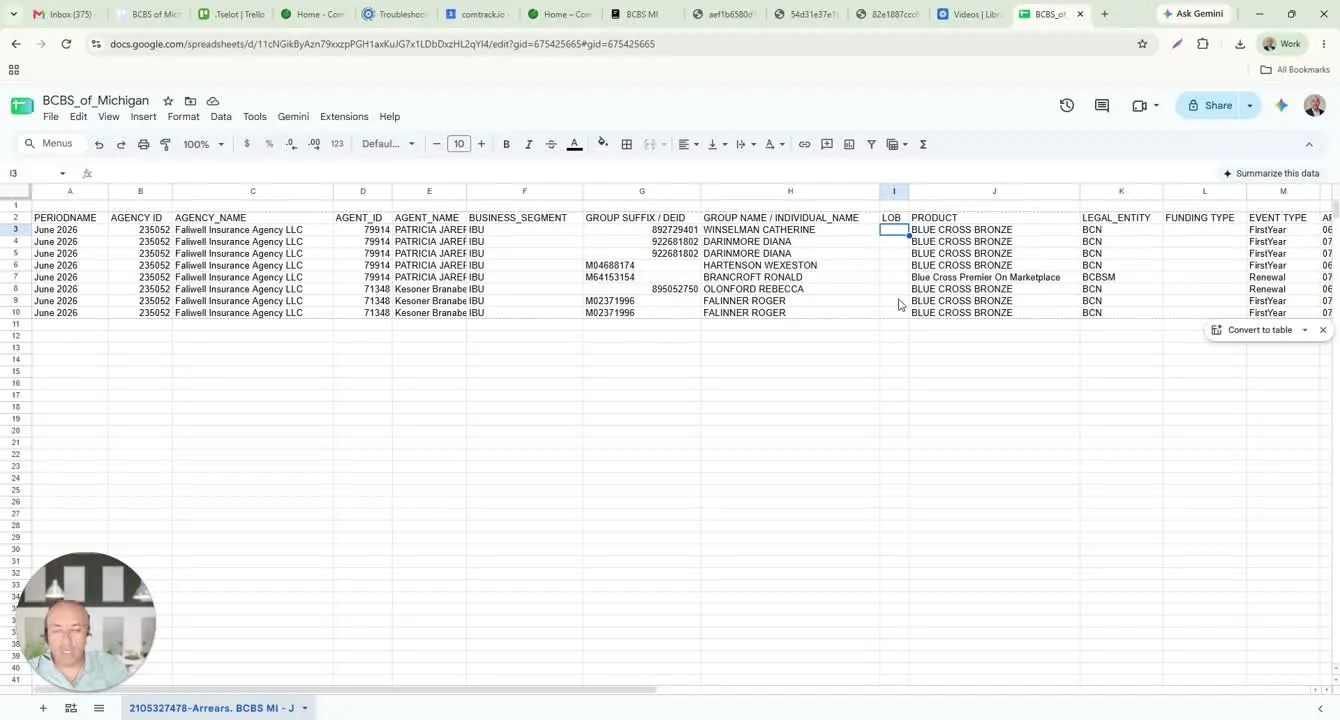
- Check the Line of Business field, even if it appears blank in some rows.
- Review the Legal Entity field to identify the carrier entity tied to the policy.
- Review the Funding Type field for group policies:
- Fully insured
- Self-funded
- Review the Event Type field to determine whether the policy is in the first year of coverage or beyond the initial 12 months.
7. Review dates, member counts, and commission tier details 2:55
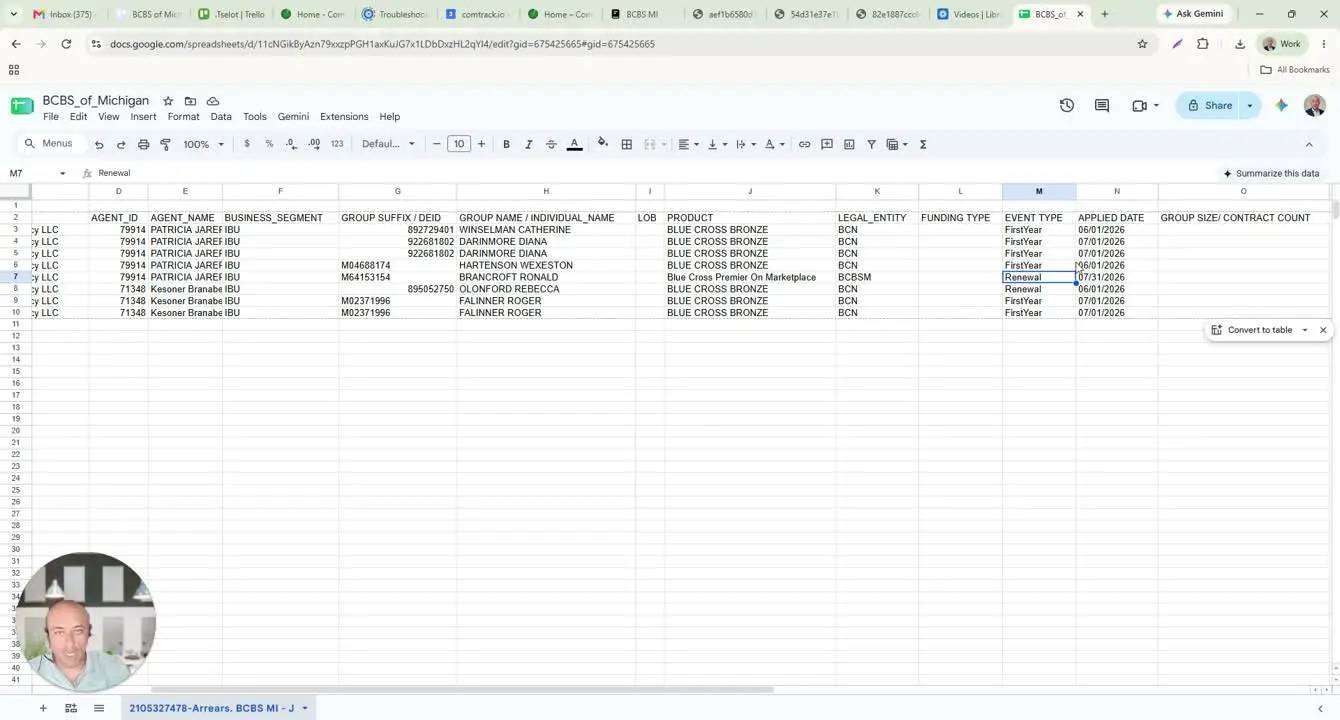
- Check the Applied Date to see when the premium was applied.
- Review the field showing the number of members in the group policy.
- Check the Commission Level to identify the commission tier being paid.
- If applicable, review the Preferred Tier selection for individual business unit plans.
8. Understand credit type, adjustments, and renewal-related fields 3:21
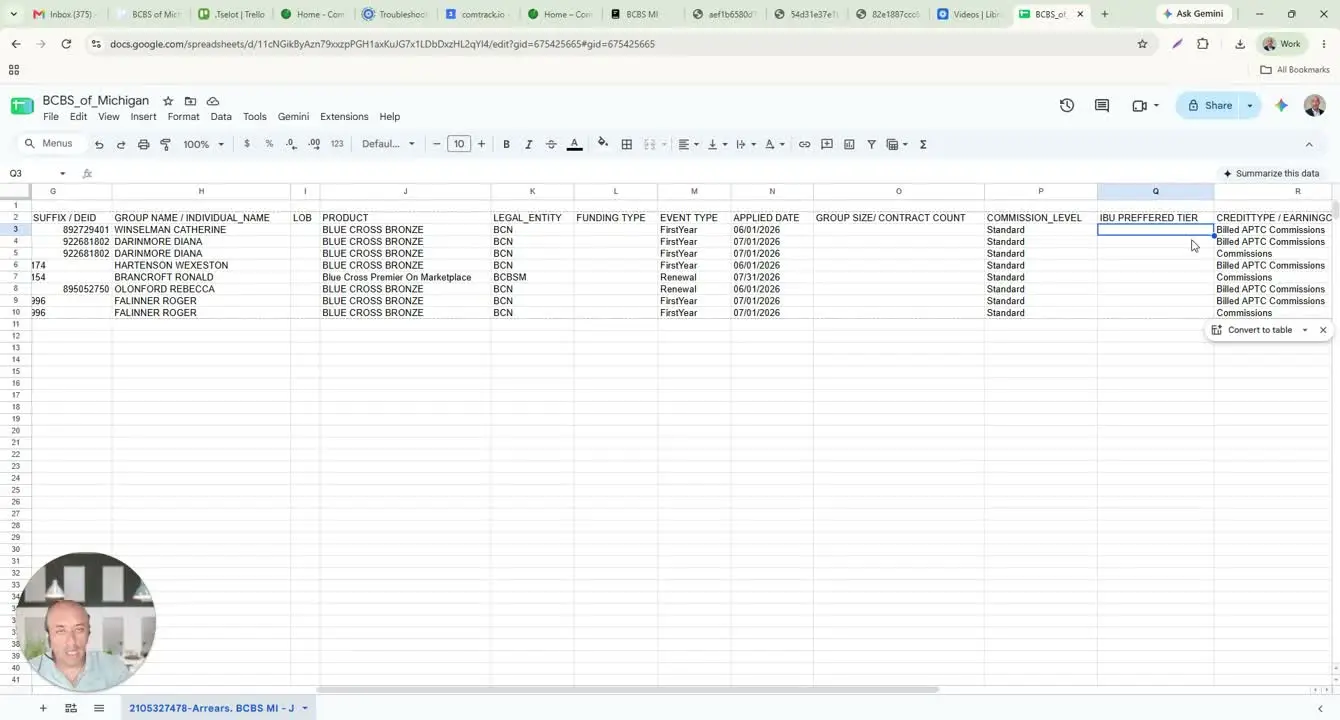
- Review Credit Type / Earning Code ID:
- Bill APTC commissions refer to the portion paid by the government.
- Commissions refer to the portion paid by the member.
- Check whether Adjustment is marked Yes to identify a correction from a previous month.
- Review Renewal Month for group policies.
- Review CEMS Year for Medicare business plan-year tracking.
- Check the Local Group field as the BCBS identifier for the group.
9. Verify commission calculations in the raw statement 4:23
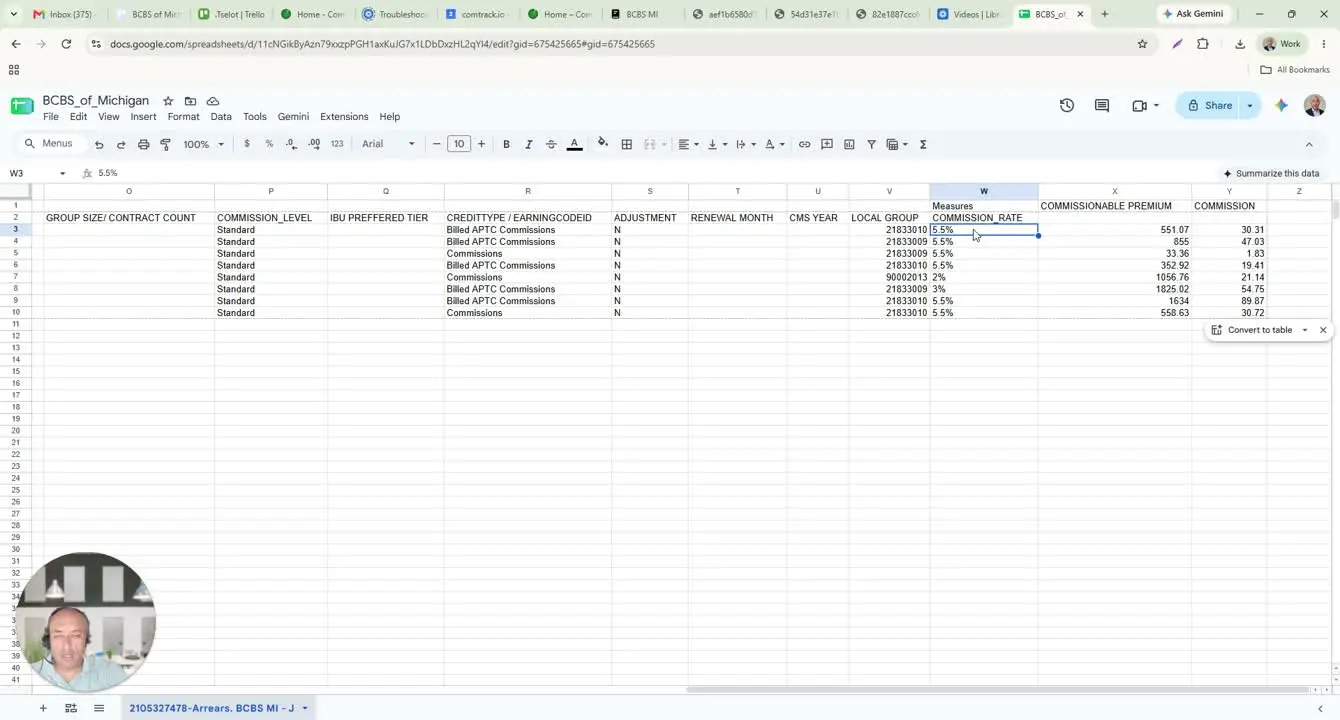
- Locate the Commission Rate percentage.
- Compare the rate against the commissionable premium.
- Confirm the commission amount is calculated correctly using the stated percentage.
- Use this step to understand why the raw statement may be difficult to read manually.
10. Load the statement into ComTrack for easier review 4:43
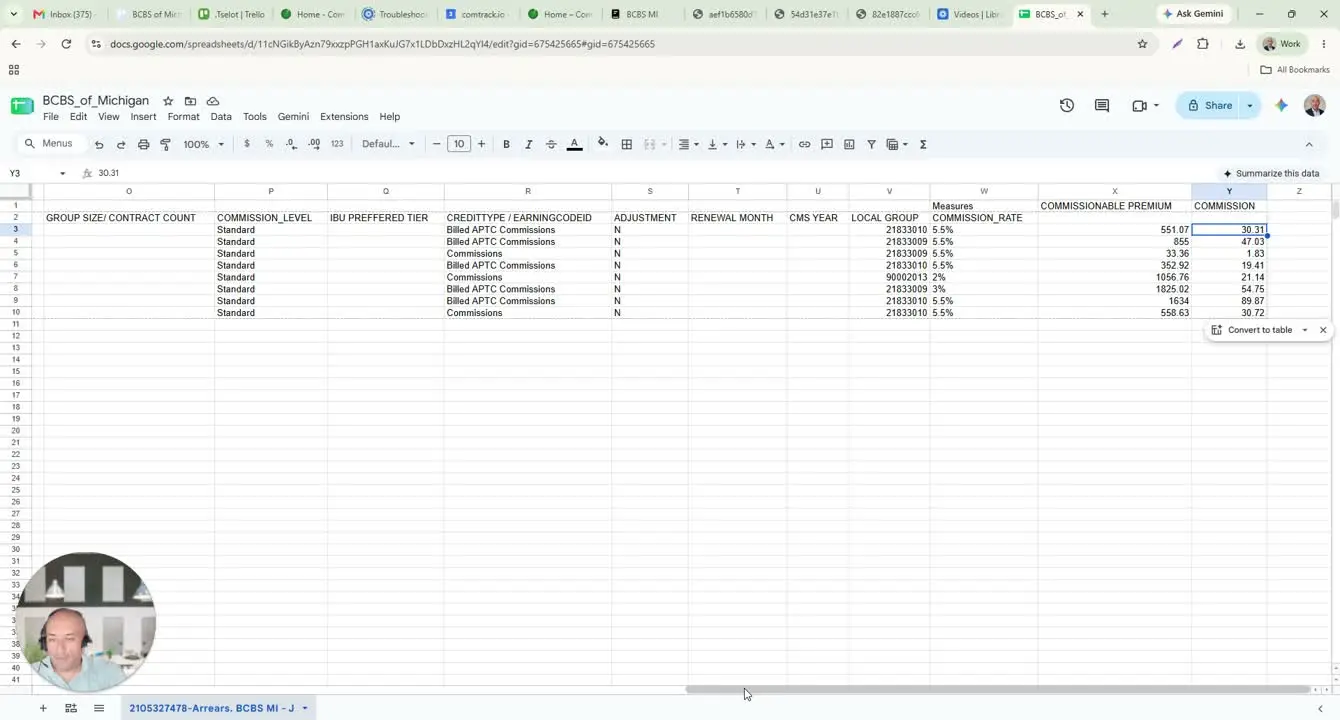
- Open ComTrack.
- Drag and drop the same commission statement into the system.
- Click Digest to process the file.
- Wait for processing to complete, then click OK.
11. Review the organized data in ComTrack 5:14
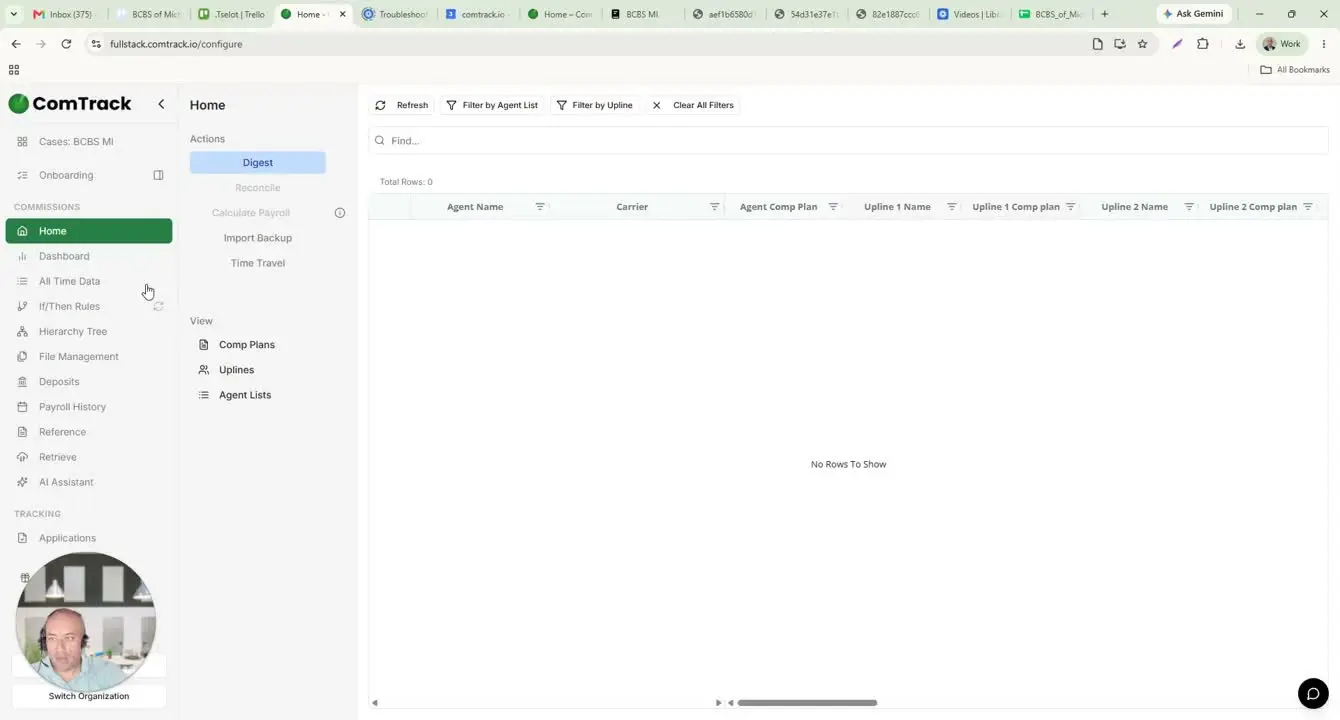
- Go to All Time Data to view the processed statement.
- Confirm ComTrack has organized the data into readable columns.
- Review key fields such as:
- Agent name
- Carrier
- Payment period
- Client full name
- Effective date
- Premium
- Commission amount
- Use the top-line total to confirm the overall commission without manual math.
Cautionary Notes
- Do not assume every field will be populated; some rows may contain blanks depending on the policy type.
- Be careful to distinguish between government-paid APTC commissions and member-paid commissions.
- If an Adjustment is marked Yes, verify whether it relates to a prior month before using the amount for reporting.
- Always confirm you selected the correct month and file type before downloading.
- Raw BCBS statements can be difficult to interpret manually; use ComTrack to reduce the risk of calculation errors.
Tips for Efficiency
- Use the dashboard download options to avoid searching through unrelated portal pages.
- Download the statement in Excel format when possible for easier review and upload.
- After loading into ComTrack, use the organized columns instead of manually reading the raw statement.
- Check the commission total at the top in ComTrack before doing any manual validation.
- Keep a consistent review order: period, agency, agent, policy details, commission fields, then totals.